Shopping Style
Short French Tip Nails with Design The Perfect Combination of Elegance and Creativity
When it comes to nail designs, the options are endless. From intricate patterns to bold colors, there is no limit to what you can do with your nails. However, for those who prefer a more classic and elegant look, the short french tip nails with design is the perfect choice. This style combines the simplicity of a french tip with the creativity of a design, resulting in a unique and sophisticated look. In this article, we will explore the different ways you can incorporate designs into your short french tip nails, as well as some tips and tricks for achieving the best results.
1. The Basics of Short French Tip Nails
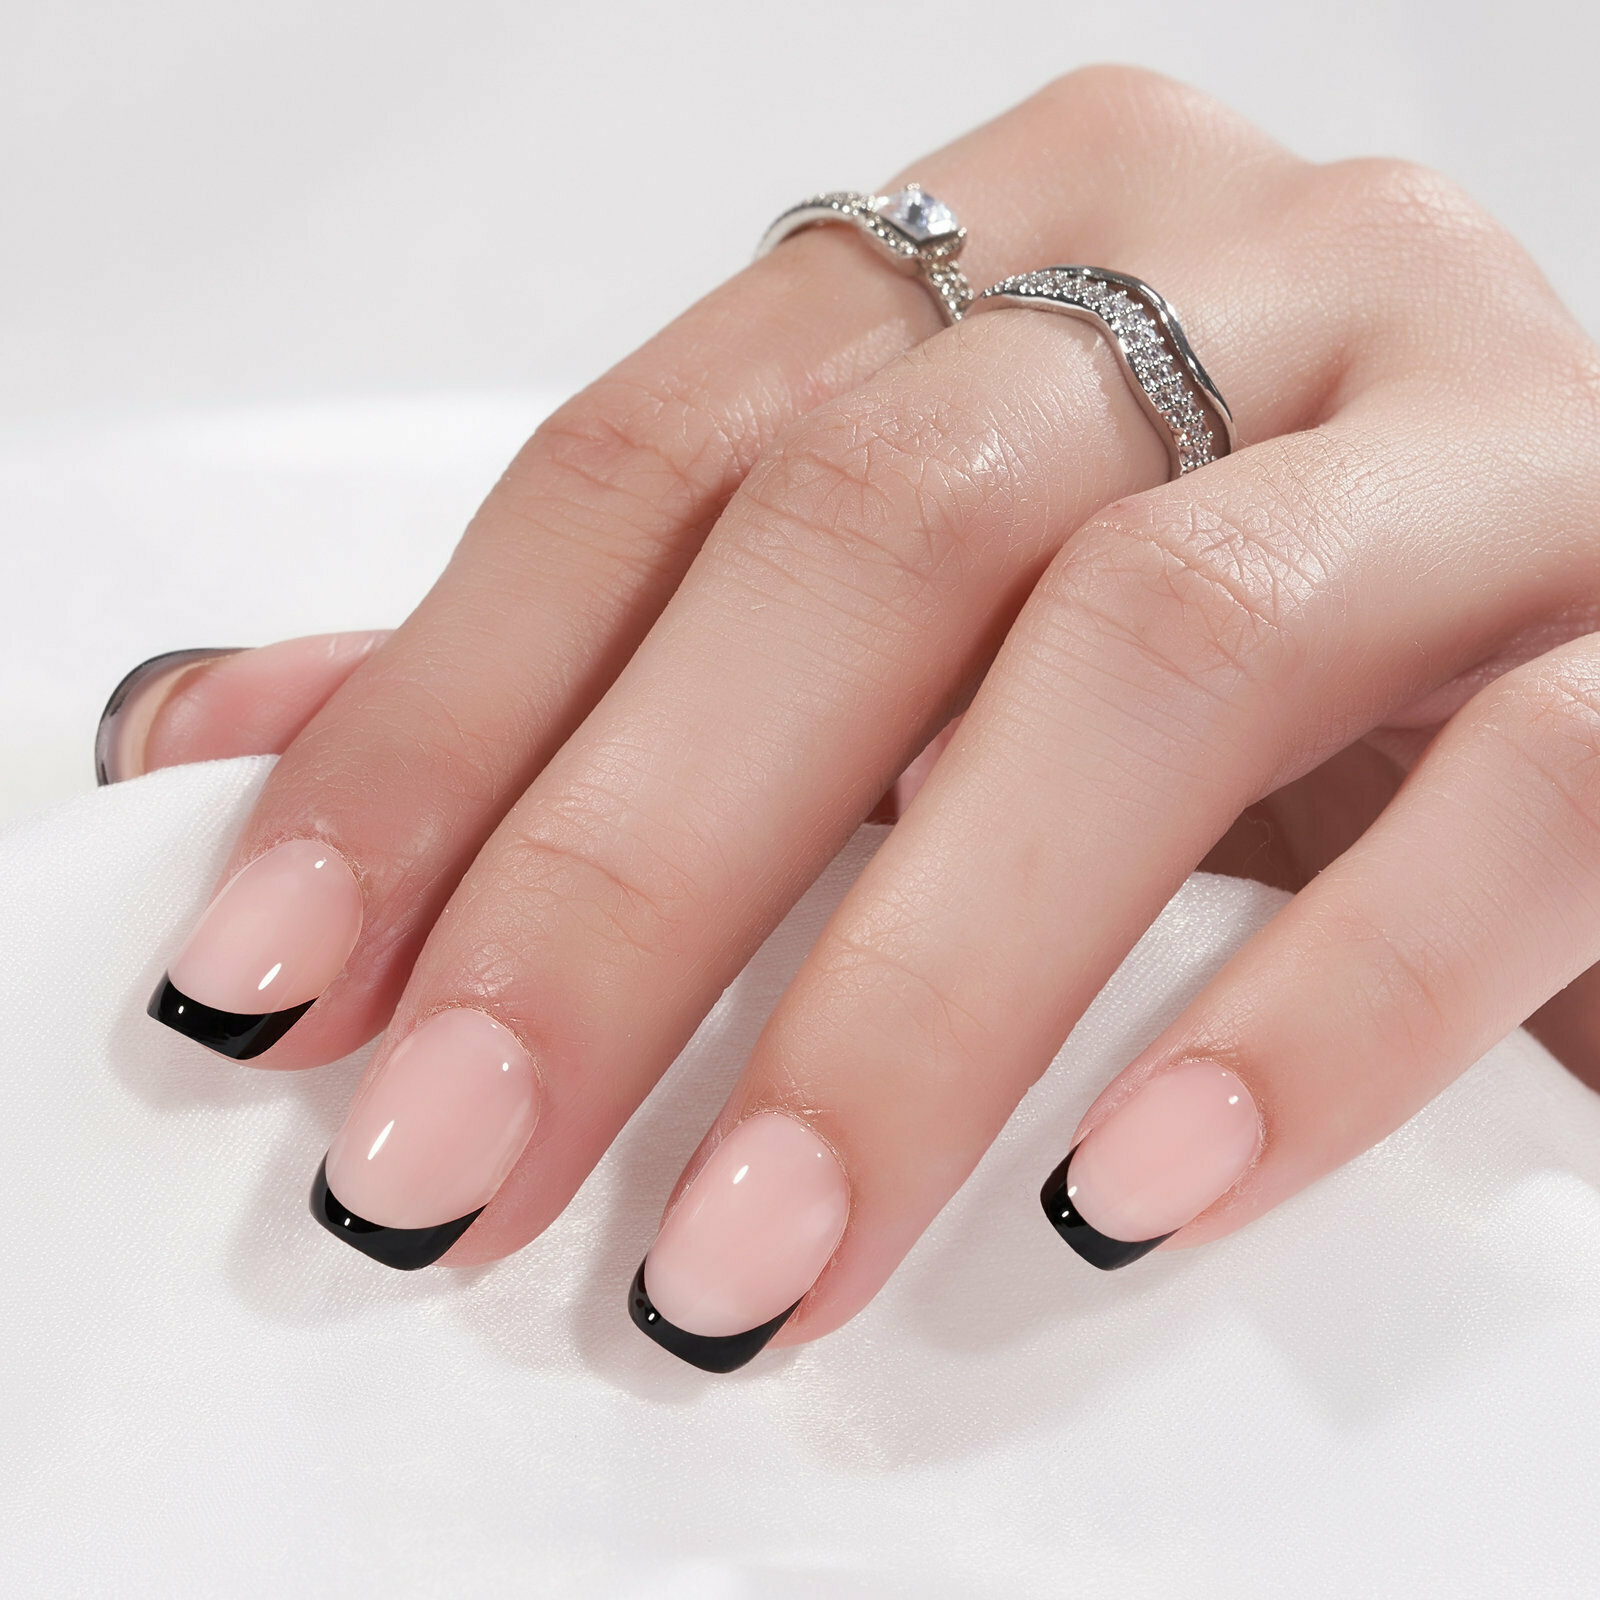
Before we dive into the world of designs, let’s start with the basics of short french tip nails. This style involves painting the tips of your nails white or a light color, while leaving the rest of the nail bed natural or painted in a nude shade. To achieve the desired length, the nails are trimmed short, giving a neat and clean appearance. This style is perfect for those who want a minimalistic and chic look without the hassle of maintaining long nails.
The Steps to Achieve Short French Tip Nails
- Start by cleaning your nails and pushing back your cuticles.
- Trim your nails to your desired length, keeping in mind that they should be short.
- File your nails into a square or round shape, whichever you prefer.
- Apply a base coat to protect your nails from staining.
- Using a white or light colored polish, paint the tips of your nails in a straight line, making sure to leave a small gap between the tip and the natural nail bed.
- Once dry, apply a second coat for a more opaque finish.
- Clean up any mistakes using a small brush dipped in nail polish remover.
- Finish off with a top coat to seal in the design and add shine.
2. Adding Designs to Your Short French Tip Nails
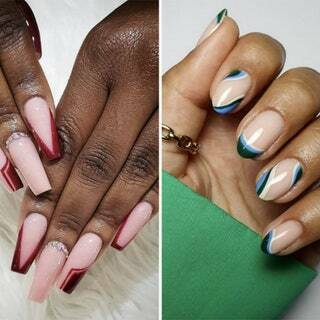
Now that we have covered the basics, let’s explore the different ways you can add designs to your short french tip nails. These designs can be as simple or as intricate as you want, depending on your personal style and skill level.
Option 1: Single Accent Nail
If you want to add a touch of creativity without going overboard, a single accent nail is the perfect choice. This involves painting all your nails in the classic french tip style, except for one nail which will feature a design. This could range from a small heart or star to a delicate floral pattern. You can use nail stickers or do it freehand using a thin brush and some nail polish.
Option 2: Half Moon Design
For a more unique look, try incorporating a half moon design onto your short french tip nails. This involves painting the bottom half of your nails with a design, while keeping the tips plain white. You can play around with different designs such as a glittery half moon or a geometric pattern for a modern twist.
Option 3: Reverse French Tips
Reverse french tips are a fun and creative way to switch up the classic french tip design. Instead of painting the tips white, paint them in a color of your choice and leave the rest of the nail bed natural. This creates a reverse effect that is both edgy and elegant at the same time. You can also add a design to the base of the nail for an extra pop of creativity.
3. Tips for Achieving the Perfect Short French Tip Nails with Design
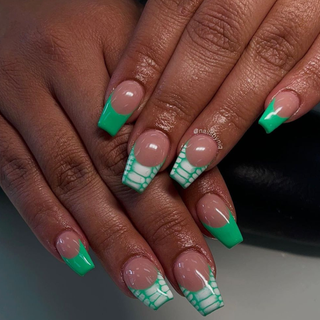
While this style may seem simple, there are a few tips and tricks you can follow to achieve the best results.
Tip 1: Use Stencils or Tape for Precision
If you struggle with painting straight lines, using stencils or tape can help you achieve a crisp and clean design. Place the stencil or tape on your nails before painting the tips, making sure to press down firmly. Once you have painted the tips, carefully remove the stencil or tape for a perfect line.
Tip 2: Experiment with Different Colors
While white is the most popular color for french tips, don’t be afraid to experiment with different shades. A light pink or nude can give a softer and more subtle look, while bolder colors like red or black can add a touch of drama to your nails.
Tip 3: Use a Nail Art Pen for Detailed Designs
If you are feeling adventurous and want to try intricate designs, a nail art pen can come in handy. These pens have a thin tip that allows you to create detailed patterns and designs on your nails. You can also use them to correct any mistakes or perfect the shape of your tips.
FAQs about Short French Tip Nails with Design
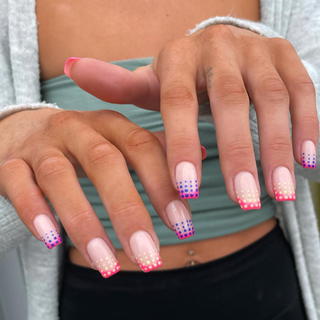
Q1: How long should my nails be for this style?
For short french tip nails, it is recommended to keep your nails trimmed to about a quarter inch from the tip of your finger. This ensures that the tips look neat and proportionate to the rest of your nails.
Q2: Can I use gel polish for this style?
Yes, you can use gel polish for short french tip nails with design. However, make sure to cure each layer under a UV or LED lamp for the recommended time to ensure the design stays intact.
Q3: Can I mix and match different designs on each nail?
Absolutely! Feel free to play around with different designs on each nail or even combine multiple designs on one nail for a unique look.
Q4: How often do I need to touch up the white tips?
This depends on the speed at which your nails grow, but on average, touch-ups are needed every 1-2 weeks. You can also use a white nail polish pen to quickly fix any chipped or uneven tips.
Q5: Can I add rhinestones or other embellishments to my short french tip nails?
Yes, you can add rhinestones, studs, or other embellishments to your short french tip nails for an extra touch of glamour and style.
Conclusion: The Perfect Combination of Elegance and Creativity
Short french tip nails with design are the perfect choice for those who want a classic and elegant look with a twist of creativity. Whether you prefer a simple accent nail or an intricate half moon design, this style allows you to play around with different patterns, colors, and techniques to achieve the desired look. With these tips and ideas, you can create stunning short french tip nails that are sure to turn heads wherever you go. So go ahead and try out this versatile and stylish nail trend for yourself!
